How to Create HDR Skybox Textures for 3D Environments?
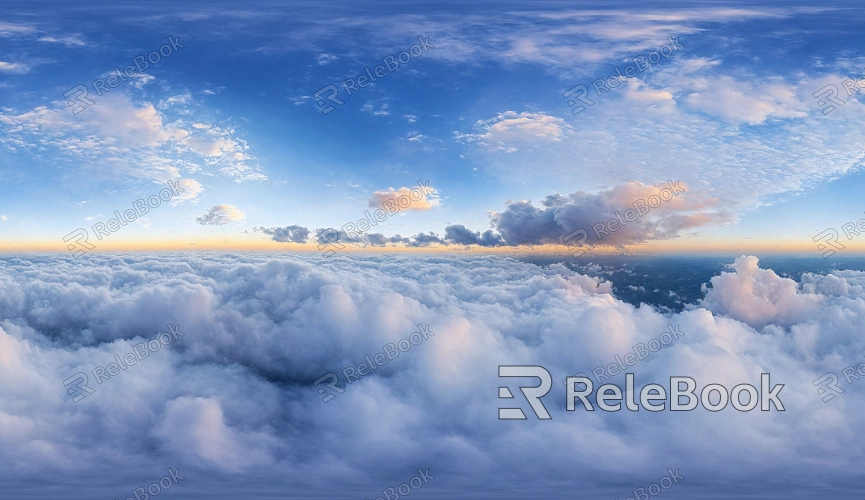
Creating realistic environmental atmospheres is crucial for achieving high-quality visual effects in any 3D scene. A skybox is a commonly used method to simulate the sky and distant scenery by applying a 360-degree panoramic image in a virtual environment. HDR images, known for their rich brightness and color details, are ideal for this purpose. Common 3D software such as Blender, 3ds Max, Maya, Unity, and Unreal Engine all support HDR skybox textures. This article will guide you through the steps of creating, optimizing, and applying HDR skybox textures for your 3D environments.
1. Acquire Suitable HDR Image Resources
The first step in creating an HDR skybox is to gather high-quality HDR images. These images can be obtained in the following ways:
Download pre-made HDR images: There are many online resources offering free HDR images designed specifically for 3D scenes, such as HDRI Haven, Poly Haven, and CGI Texture. When selecting an image, ensure it has a high enough resolution to avoid blurriness or distortion during rendering.
Capture custom HDR images: If you need a unique environment, capturing your own HDR images is an option. This requires a professional camera and multiple exposure techniques to capture various light levels, which can then be combined into a single HDR image during post-production.
2. Build the Basic Structure of the Skybox
A typical skybox consists of six faces, each representing part of the panoramic view. When creating a skybox, the HDR image must be mapped onto these six sides, ensuring that the images blend seamlessly to form a complete 360-degree perspective. Here’s what to keep in mind during the process:
Image Stitching: Split the HDR image into six individual pictures, then accurately map them to the six faces of the skybox.
Format Compatibility: Most 3D software supports standard image formats (such as HDR or EXR). Ensure that the imported image is compatible with the software you're using.
3. Adjust the Brightness and Contrast of the HDR Image
When creating an HDR skybox, it’s important to fine-tune the brightness and contrast. HDR images usually contain a wide range of light and dark areas, and adjusting them properly enhances the overall effect of the skybox. You can adjust these settings through:
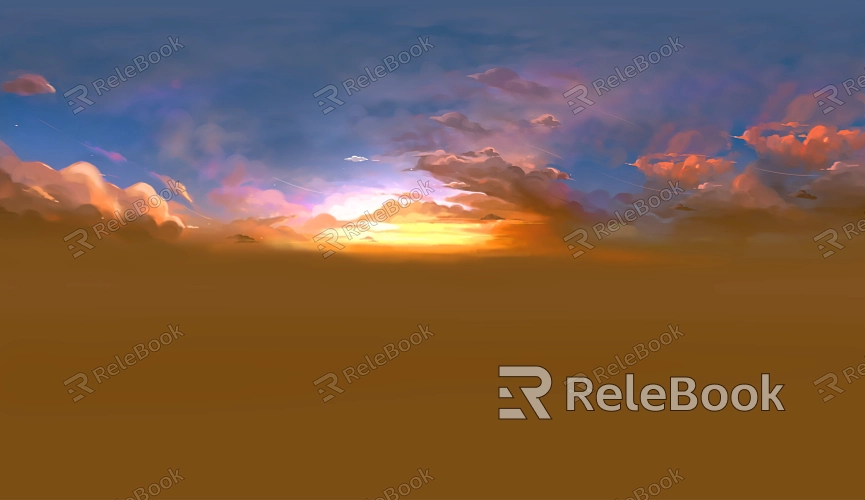
Brightness Tuning: Increase or decrease the overall brightness of the image to match the lighting requirements of your scene. For a night or dusk scene, a lower brightness level might be suitable, while for a daylight or sunrise scene, higher brightness might be necessary.
Contrast Enhancement: By boosting the image contrast, you ensure that the lighting and shadows have more depth, allowing the skybox to integrate better with other elements in the scene.
4. Apply the HDR Skybox to 3D Software
Different 3D software packages have their own methods for loading HDR skybox textures. Below are some common approaches for popular tools:
Blender: In the “World” settings, select “Environment Texture,” import the HDR image, and adjust the mapping to “Spherical” or “Cubemap” to suit the skybox.
Unity: Use the Skybox Material settings to import the HDR image, apply it to the scene’s ambient lighting, and adjust the exposure to achieve the desired visual effect.
3ds Max: Load the HDR image as a panoramic texture using the “Environment Map” option, and adjust the skybox effect in the rendering settings.
5. Optimize the Performance of the HDR Skybox
When working with HDR skyboxes, it’s essential to consider real-time rendering performance, especially for game development or virtual reality projects. Some optimization strategies include:
Lower Resolution: While high-resolution HDR images provide more detail, they consume more memory. Reducing the resolution can balance image quality and performance.
Use of Mipmaps: Creating mipmaps at various resolutions allows the appropriate image quality to be used at different viewing distances, reducing the load on the GPU.
6. Create Custom HDR Skyboxes
If pre-existing HDR images don’t meet your needs, you can create a custom HDR skybox by following these simplified steps:
Model the Basic Environment: Use 3D software to create a simple environment that simulates the sky, horizon, mountains, or buildings.
Render HDR Images: In the rendering settings, select HDR as the output format, then save the panoramic render as an HDR image and use it for the skybox.
Post-Processing: Use tools like Photoshop to fine-tune the HDR image, adjusting lighting, color, and other visual effects to ensure it fits the desired scene.
7. Adjust the Exposure of the HDR Skybox
Lighting needs vary from scene to scene, so adjusting the exposure of the HDR skybox is critical. Overexposure can make the image too bright and lose detail, while underexposure can make it too dark and dull. By fine-tuning the exposure, you can enhance the lighting effects to match the specific needs of your scene.
8. Add Dynamic Lighting Interaction with the HDR Skybox
To further enhance the realism of an HDR skybox, consider adding dynamic lighting that interacts with the HDR image. For example, in a sunrise or sunset scene, align the direction of the sun in the scene with the light source in the skybox to ensure natural transitions between light and shadow, improving the overall ambiance.
By following these steps, 3D modeling designers can create high-quality HDR skybox textures for their 3D environments. This not only improves the lighting effects of the rendered scene but also provides a more immersive visual experience for users. If you’re searching for high-quality HDR images, 3D textures, or 3D models in SketchUp or 3ds Max to build your models and virtual environments, Relebook offers a vast collection of resources to help you achieve outstanding visual results in your projects.
